![You suck at protoshop. No, you [i]really[/i] oo.](http://blog.gg8.se/images/you-suck-at-photoshop-you-really-do-your-awful.png)


Green Gameboy backlight
December 6th, 2009(Most photos have Flickr notes. If you click on any of the pictures, you’ll go to that photo’s Flickr page where you can watch notes for the photos that have them.)
I’ve playing around a lot with DMG backlight lately. After I tried out the inversion hack on my guinea pig boy, I installed the hack on my regular one as well, but without a switch, and flipped the polarization layer of course. (The whole point of the hack is to uninvert the screen after flipping the polarization layer) This gave it more contrast, but then Bibin gave me a tip that so called “kelly green” coloured LEDs would work perfectly for a DMG backlight when using the inverse polarization layout, since the dark areas would completely block that green wavelength, whereas a large portion of white light will pass through even the dark areas. I believe that “kelly green” is the same LED type as “true green”. The LEDs in this eBay auction are suitable for the job, if you want to build your own backlight using this method.
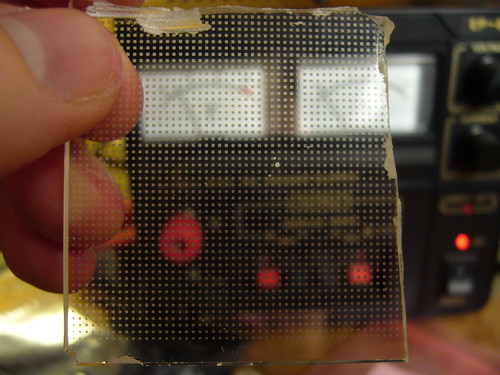
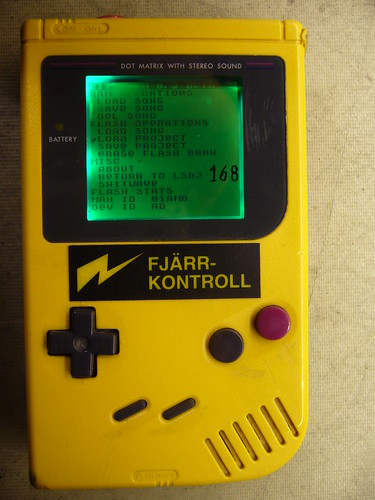
Compare the images below:
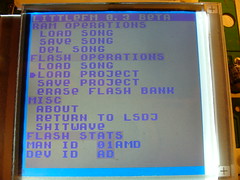
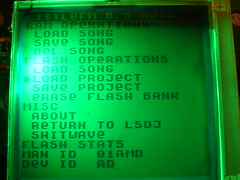
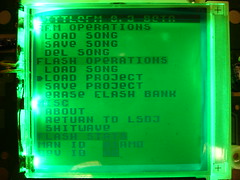
The left picture is a Nonfinite backlight with an inverted polarizer. (And of course a 74hc04 screen inverter to uninvert the image) It has white LEDs which is atcually a bad idea for use with a monochrome LCD. Light pixels will conduct all wavelengths of light pretty evenly. Dark pixels on the other hand block green light but will still pass through a considerable amount of blue light. Add to that the white LEDs commonly used are actually blue LEDs with phosphor to produce other wavelengths. Read about it on Wikipedia. Because of this, white LEDs will have a much higher concentration of blue light compared to other wavelengths, which doesn’t exactly help getting contrast and gives the dark areas this purple colour. When using the green LED on the other hand, you only get one wavelength of light, which is almost perfectly blocked by dark pixels, giving you great contrast.
LED circuit board
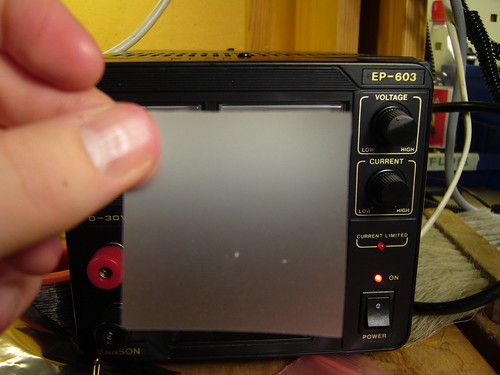
For this chapter of my epic eternal backlight saga I used three LEDs from a batch I recently acquired, combined with layers from a backlight taken from a broken laptop screen. The LEDs are surface mount 45° wide angle
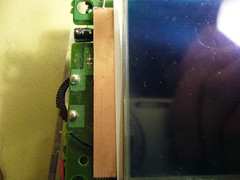

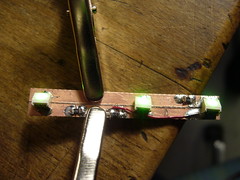
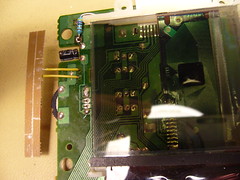
I needed a circuit board to keep the LEDs in place. It seemed like a waste to make a printed board a one-off piece of such a simple board, so I simply cut the needed traces and soldered components onto a copper laminate. I connected it to the screen daughterboard with a relatively thick single strand wire which also keeps the board in position.
The layers
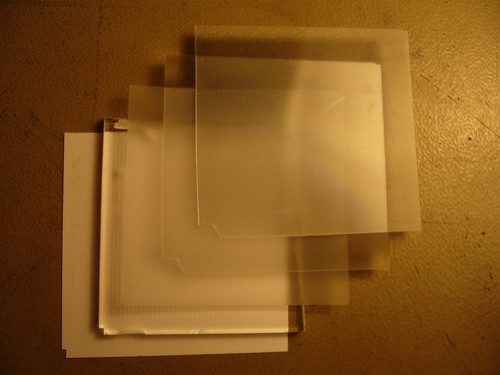
And so a word about the layers used behind the screen… Lightboy made a thread on 8bc describing his backlight method. When seeing his desciption of the layers I was unsure what the layers were, but now that I have a complete backlight unit from a computer screen I have investigated the layers, so here’s an explanation of what the different layers are.
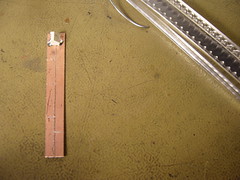
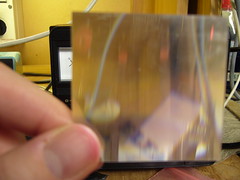
The bottom layer, not pictured, is the reflection layer. In this screen it was blank white plastic, as opposed to a silver colored mirror. The next layer, as pictured above, is the diffusion layer. Its job is to lead the light from the light source at the side and distribute it evenly upwards. It does so by small bumps in the bottom of the layer. The world has seen better Dremel jobs, but I suppose it works. This layer is also a couple millimeters thick, which created problems, see the bottom of the post.
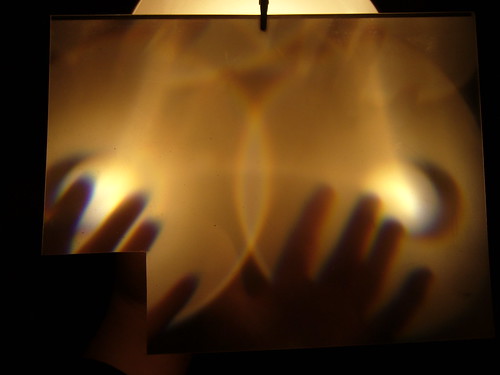
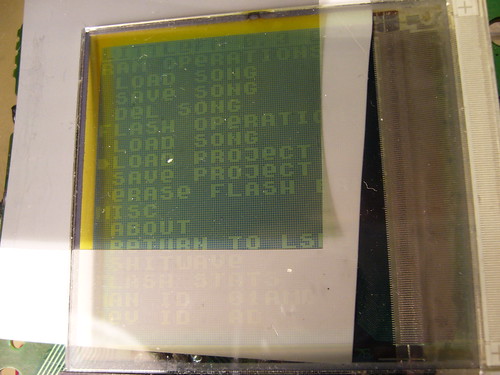
The top picture may look like something straight out of The Twilight Zone, but it’s in fact my favorite layer of the five, the growth foil. What it does, as far as I can tell, is to collect light from two directions and send it up. There are two versions of this layer stacked, one that collects light vertically and one thta collects light horizontally. The top picture is me holding one hand in front of a lamp, which the layer duplicates because it collects light from two directions. I ought to cut of pieces of those layers and make trippy sunglasses out of them.
The blur foil is simply a foil of “brushed” plastic to even out the light distribution.
The topmost layer is the polarizing layer. To understand what this layer does you need to understand what polarization is and how it works. Read about it on nobelprize.org.
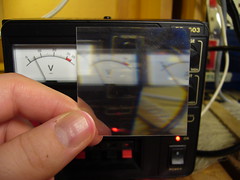
The final result
I’m not really satisfied with the outcome. This backlight has a flaw… The diffusion layer is too thick, which creates pressure on the LCD and creates differences in contrast in the areas that are under stress. And the layers are unaligned, creating a dark gap in the top of the screen. I can fix all those things however, and when that’s done I think this is the backlight design I’ll finally stick with.
I will also try to see if I can replace the white LEDs in my Nonfinite backlight panel, to use the green ones I have now.
December 6th, 2009 at 1:33 pm
awesome! I want a backlit dmg…. probably get one next year sometime.
December 8th, 2009 at 1:04 am
[...] GameBoy backlight looks really nice: http://blog.gg8.se/wordpress/2009/12/06/green-gameboy-backlight/ [...]
December 15th, 2009 at 12:08 am
[...] This post was Twitted by TCTD [...]